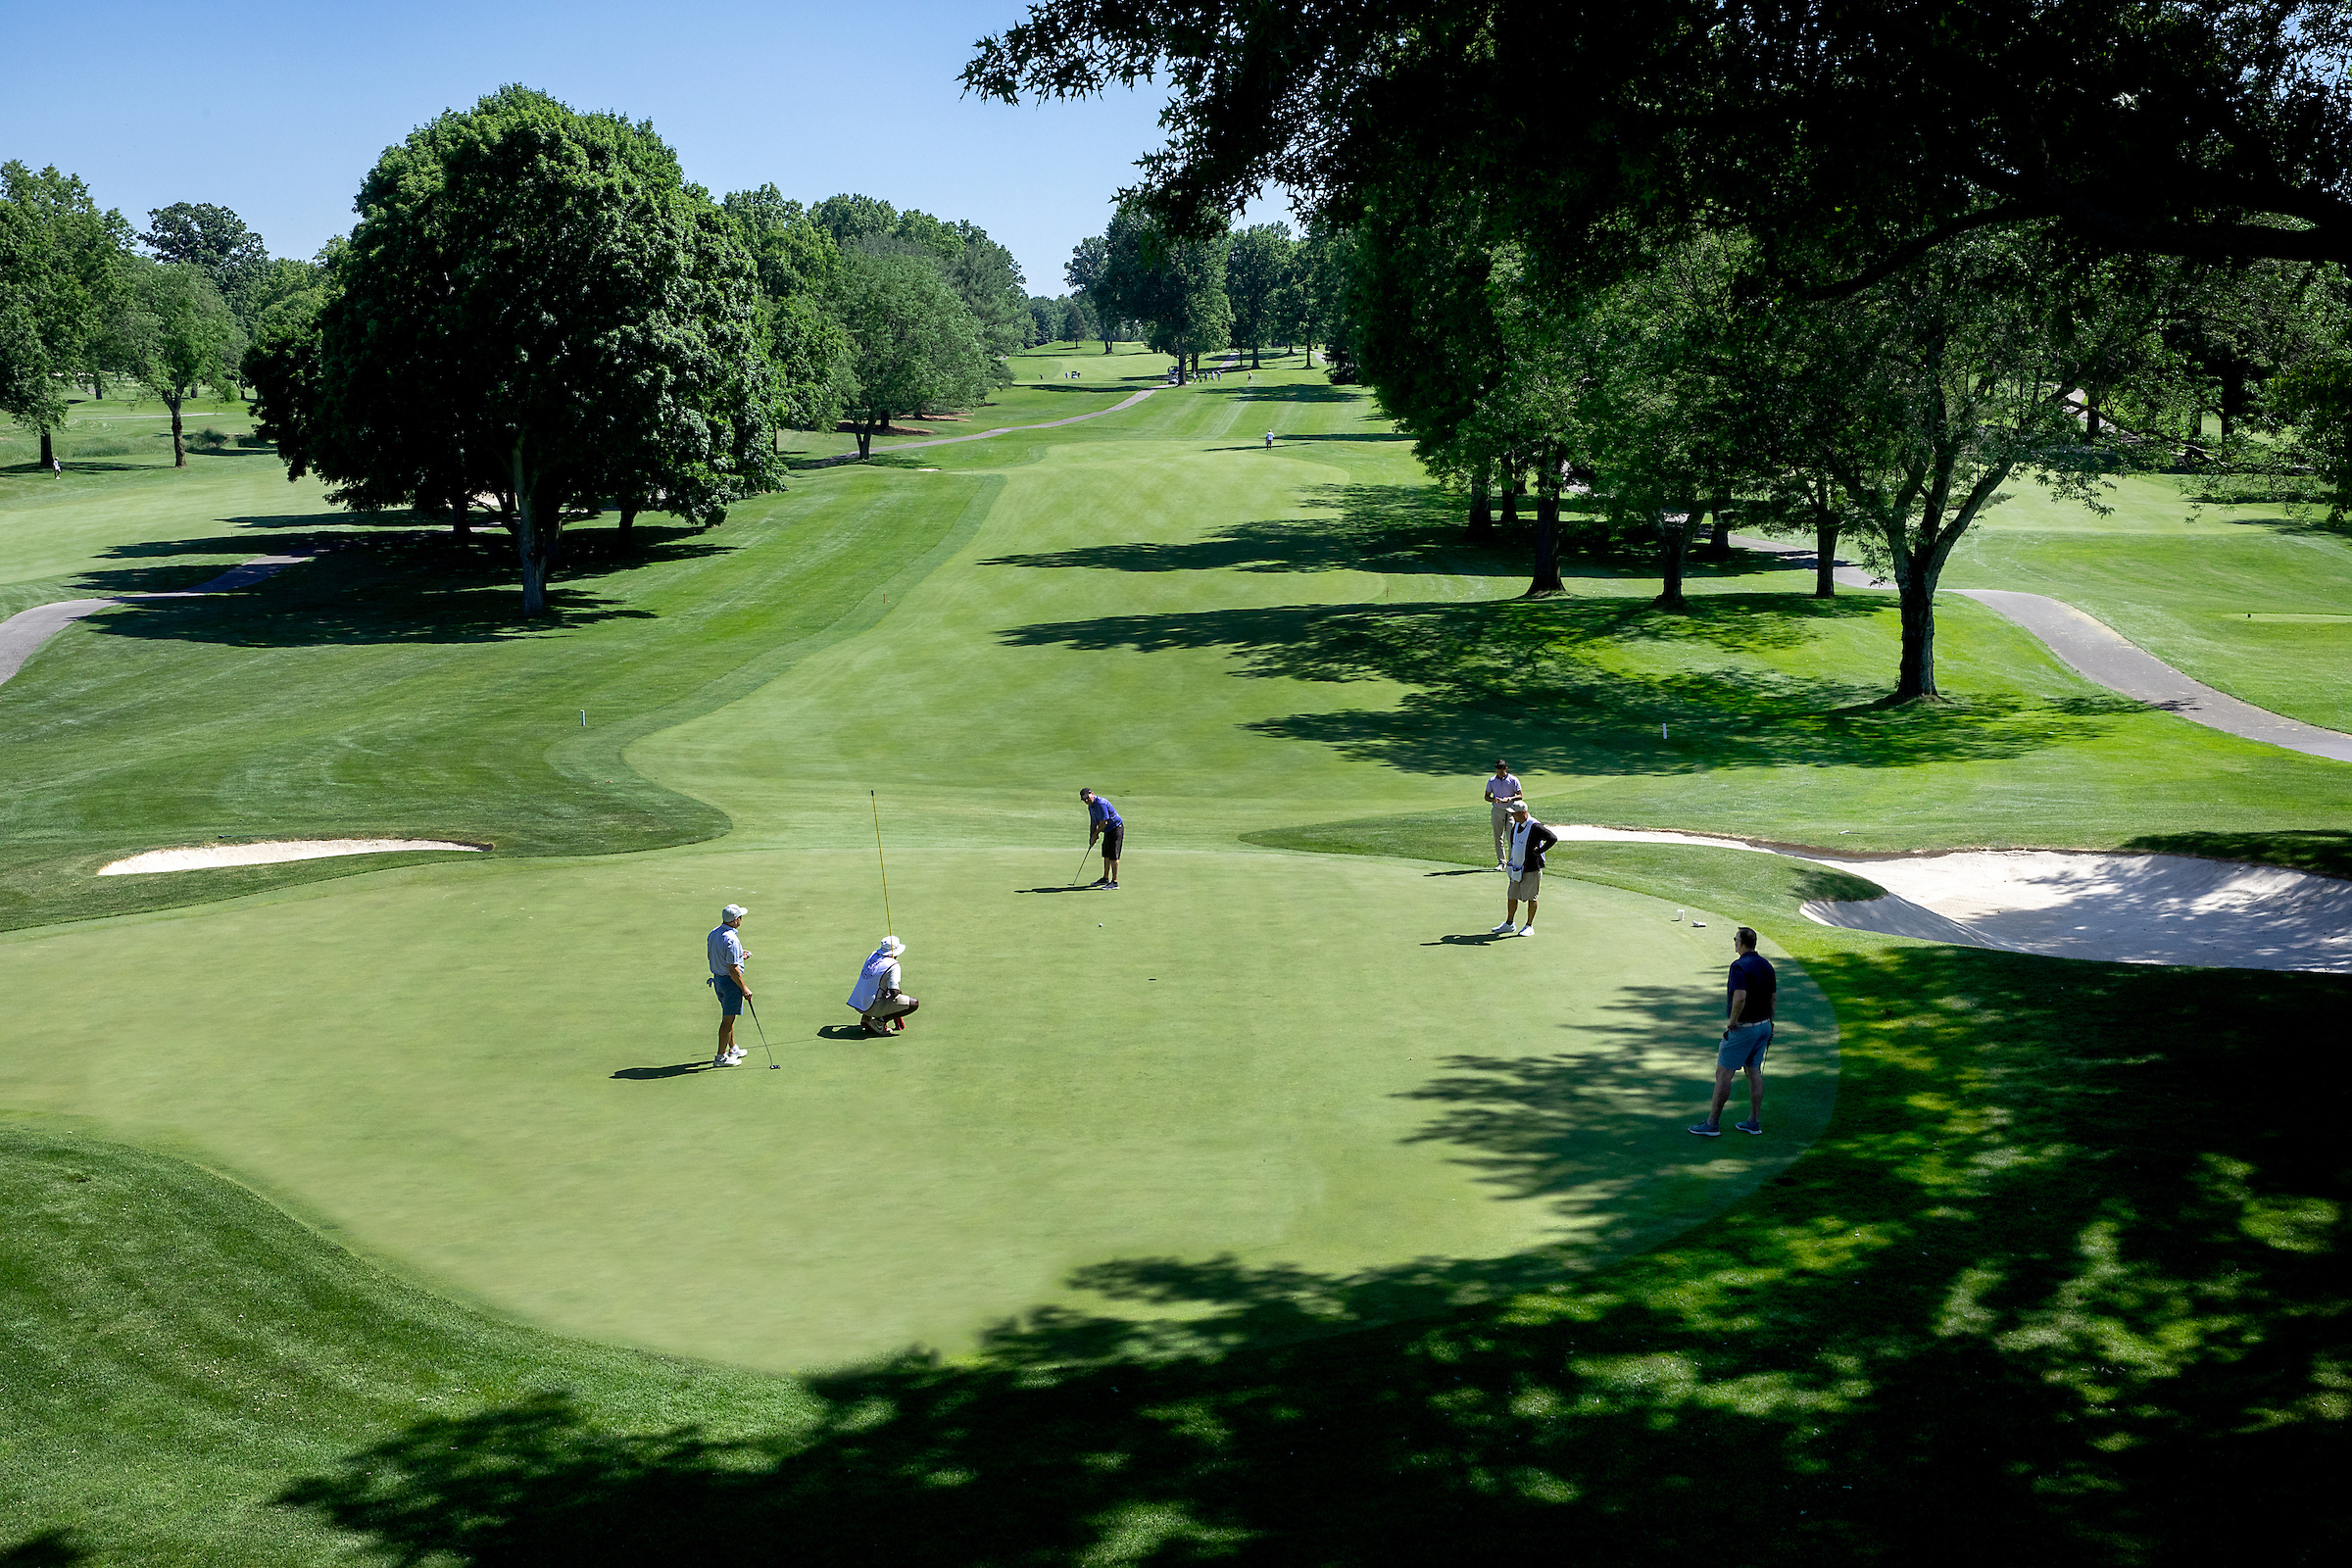
Hole 1
Par 4
Pro’s Tip:
A shorter Par 4 that demands accuracy over length. Sitting 372 yards away from the Member's tee, is a well bunkered elevated green with a severe false front. The Fairway is tightly lined with trees and four fairway bunkers; hitting the fairway is important in order to score.
Blue Tee: 399
Green Tee: 372
Hybrid: 399
Red Tee: 275
White Tee: 372

Hole 10
Par 4
Pro’s Tip:
This uphill Par 4 plays just under 400 yards from the Member tee box. Three fairway bunkers guard the landing area. The ideal target line is the right edge of the left bunker. The approach shot is uphill into a tiered green. It is important to know where the pin is to not be above the hole.
Blue Tee: 410
Green Tee: 336
Hybrid Tee: 410
Red Tee: 336
White Tee: 387

Hole 11
Par 4
Pro’s Tip:
Playing around 350 yards from the Member tee this Par 4 11th has a blind tee shot that requires more accuracy than distance. With tall trees lining the fairway and bunkers guarding the green, it is no easy hole. The green has a plateau on the left and runs left-right.
Blue Tee: 418
Green Tee: 345
Hybrid Tee: 418
Red Tee: 255
White Tee: 345

Hole 12
Par 3
Pro’s Tip:
The first Par 3 on the back nine. Playing uphill, this green is heavily guarded by 3 bunkers; short, left and right. The best opportunity at making a putt is to be below the hole as the green slopes back to front.
Blue Tee: 180
Green Tee: 153
Hybrid Tee: 165
Red Tee: 153
White Tee: 165

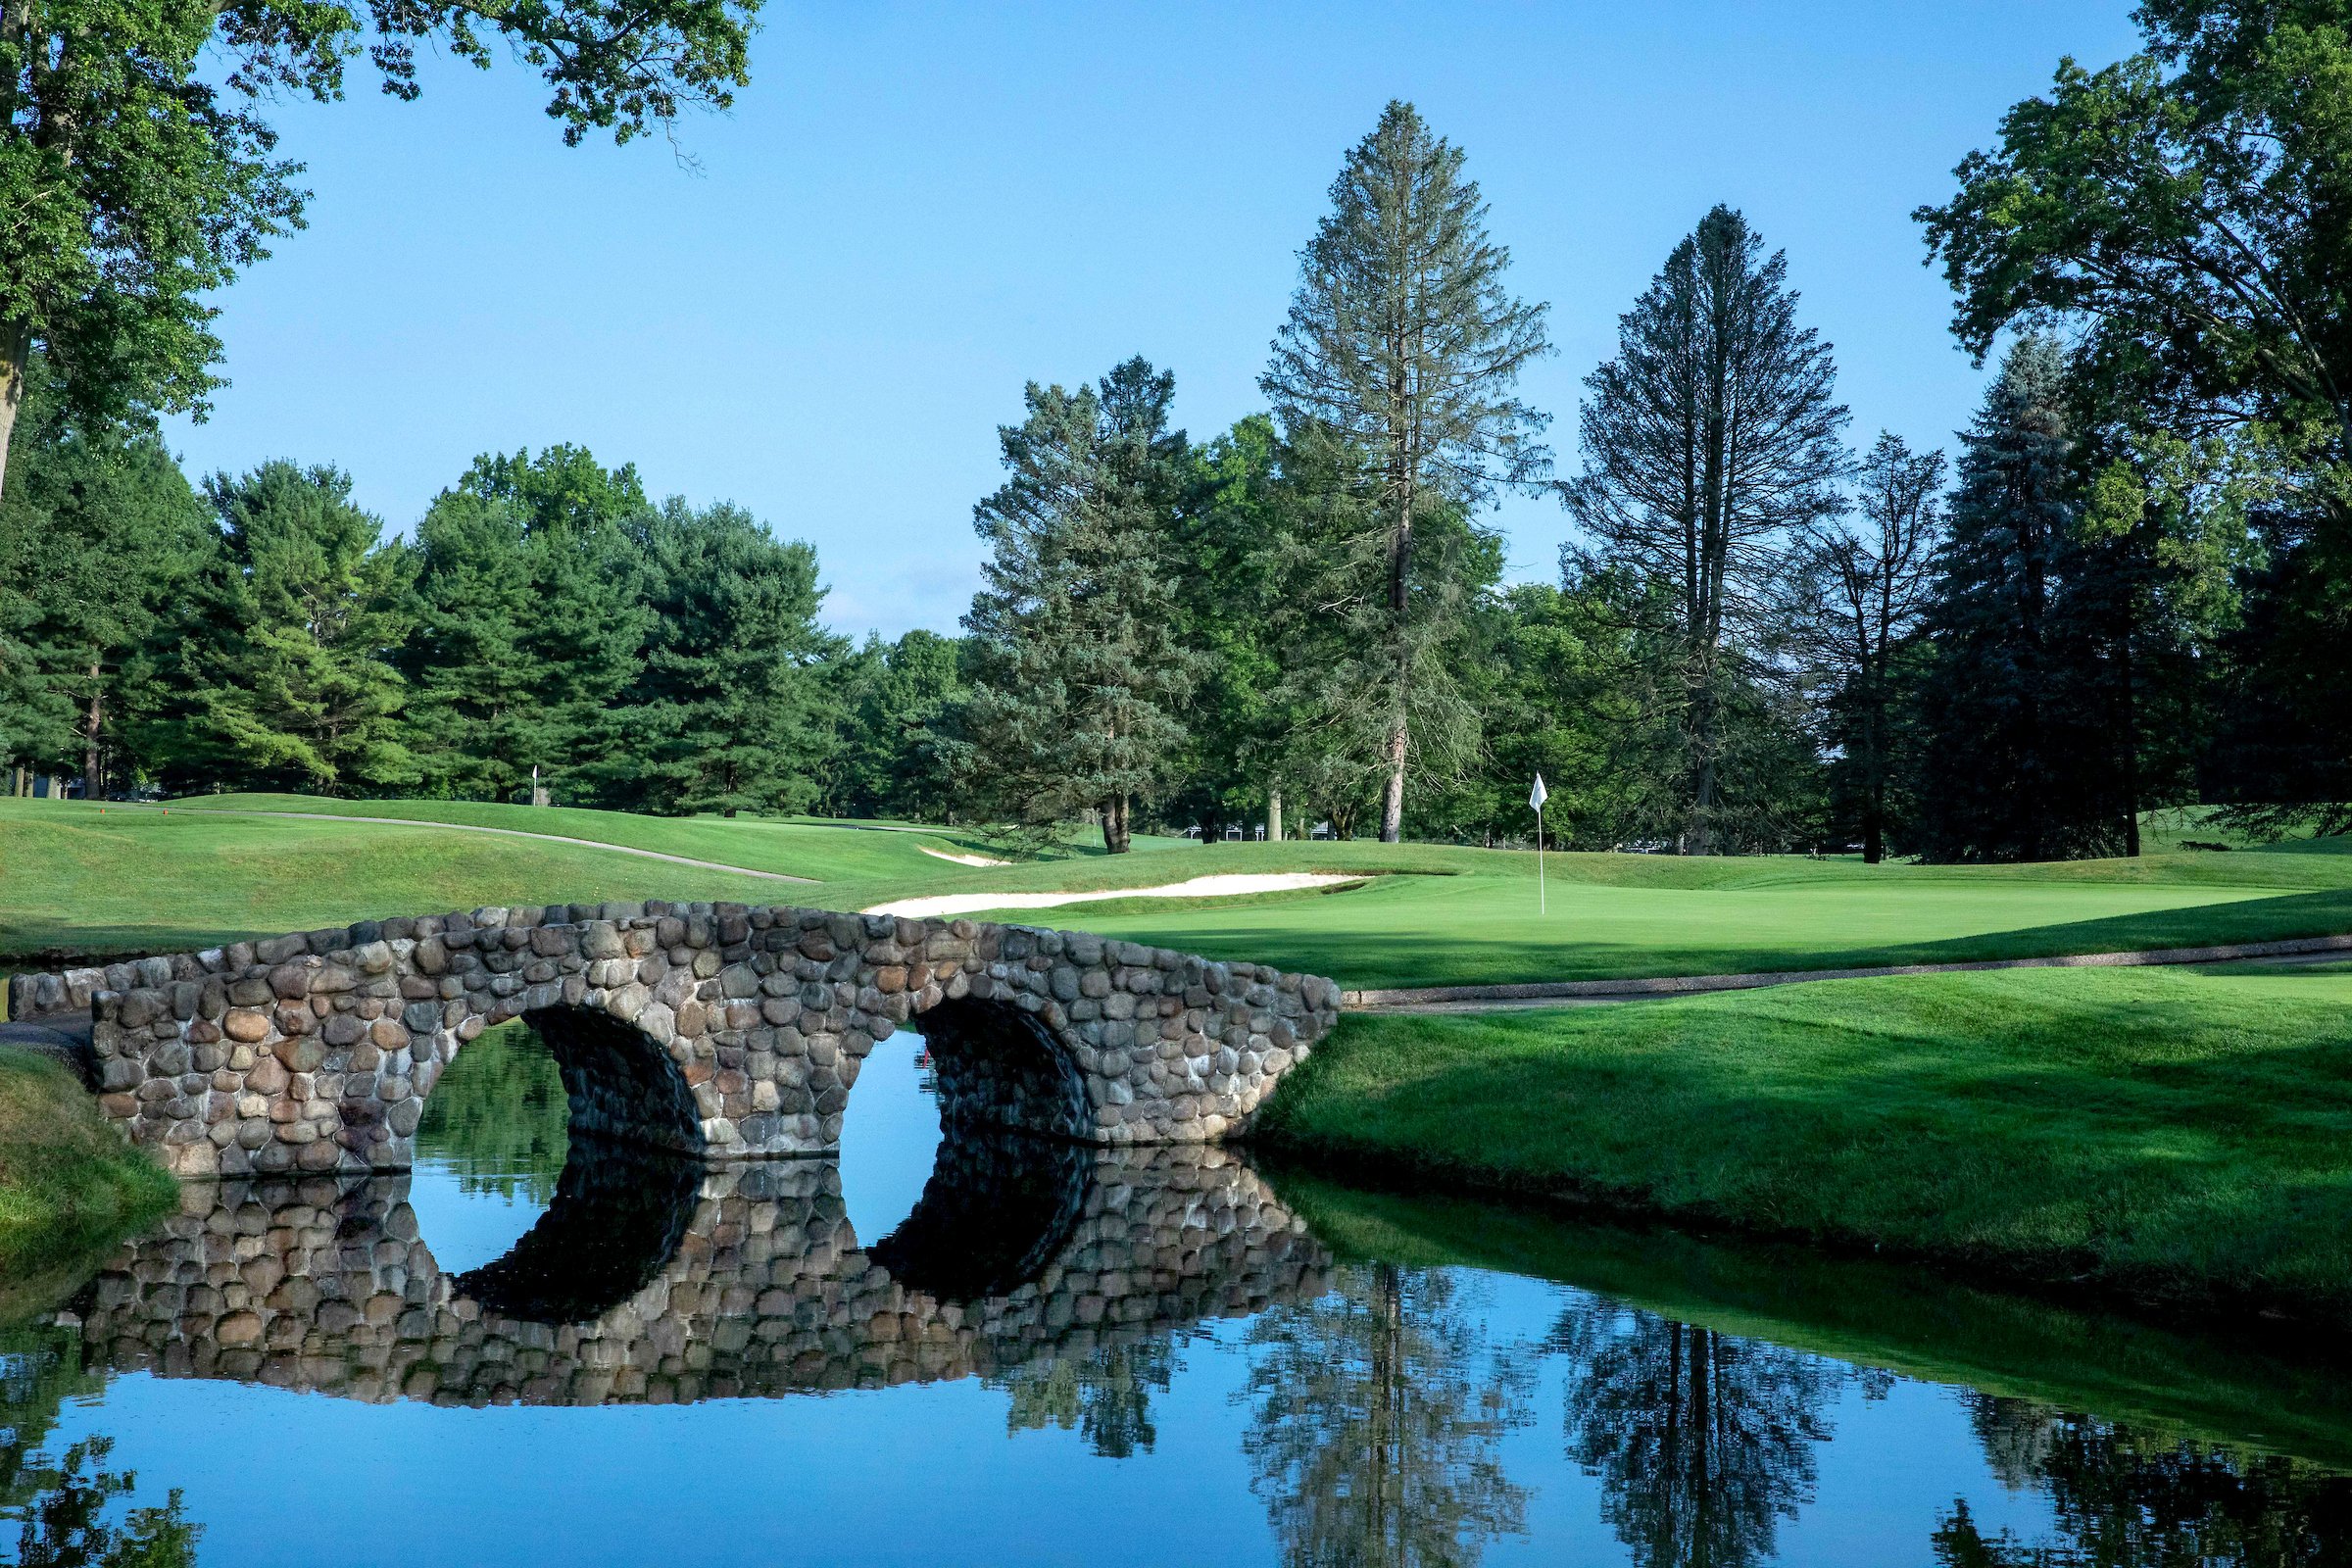
Hole 13
Par 4
Pro’s Tip:
This tough left-right dogleg requires a tee shot down the left center. A bunker sits on the left side of the fairway around 160 from the green. An overhanging tree protects the dogleg from being cut off on the right side. The approach to the elevated green is uphill and is well protected by deep bunkers left and right. The green itself is very tricky and is inviting to three putts if not careful. Add False front
Blue Tee: 471
Green Tee: 355
Hybrid Tee: 471
Red Tee: 355
White Tee: 439

Hole 14
Par 4
Pro’s Tip:
This straight away Par 4 plays 370 yards from the member tees. Three bunkers line the fairway as well as tall trees. Being in the fairway provides the best chance at hitting the green. Accuracy is more important than distance off the tee. The green is narrow and has three greenside bunkers. The green is one of the flatter ones on the course.
Blue Tee: 467
Green Tee: 371
Hybrid Tee: 371
Red Tee: 287
White Tee: 371

Hole 15
Par 3
Pro’s Tip:
The last Par 3 on the course plays around 160 yards from the Member tees. A large bunker sits on the front left of the green and two smaller ones on the right. This green slopes back to front with a few subtle run offs on the right side of the green. Being below the hole is the best opportunity at a birdie.
Blue Tee: 221
Green Tee: 148
Hybrid Tee: 159
Red Tee: 148
White Tee: 159

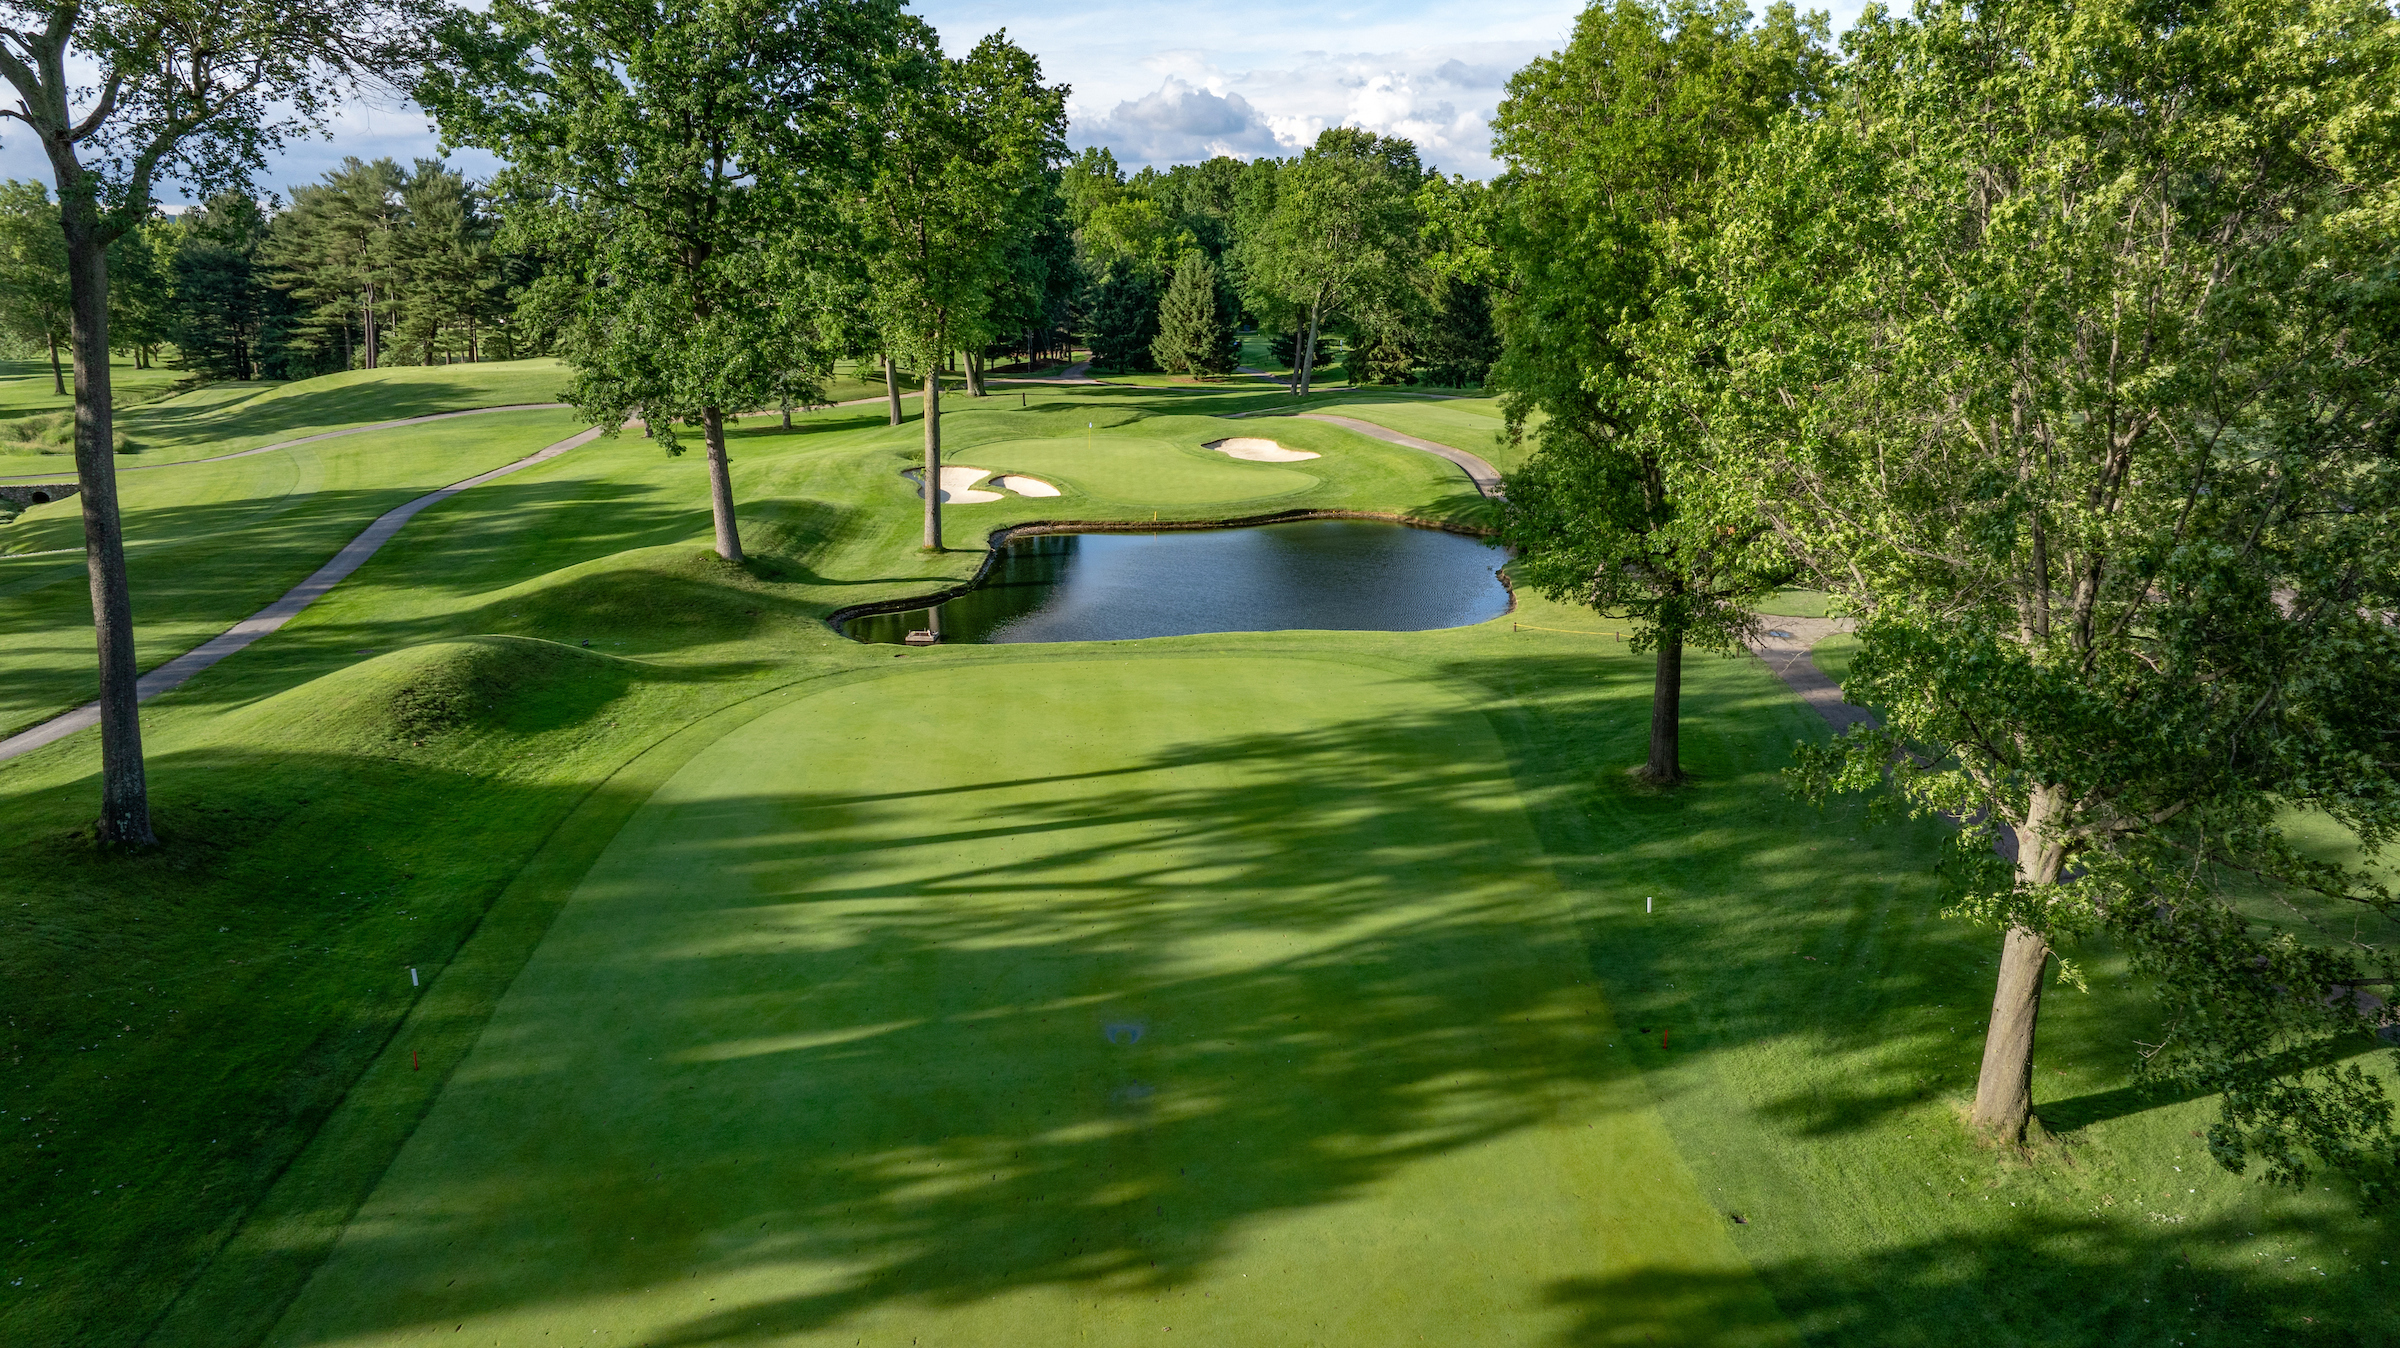
Hole 16
Par 5
Pro’s Tip:
From the tips, The 16th Par 5, also known as the monster, plays at 675 yards. The tee shot on this hole is important to be inside the tree line of the fairway. On the left is high fescue and trees and the right is guarded by thick tall trees. A tee shot at the top of the hill on the right side of the fairway will launch the ball down the sloping fairway to add extra distance. Longer hitters can hit the slope to have under 300 yards in on the next shot. The green is guarded by a frontside pond and three bunkers behind and left of the green. Trying to attack the green in two is very tough and very risky. Laying up short of the pond on the second shot is the best play majority of the time. The turtle shell shaped green provides tough pin positions that can play tricky if not careful.
Blue Tee: 667
Green Tee: 465
Hybrid Tee: 590
Red Tee: 465
White Tee: 590

Hole 17
Par 4
Pro’s Tip:
This uphill Par 4 plays just under 400 yards from the member tees. With 5 bunkers guarding left and right of the fairway, the tee shot can be intimidating. The green is protected by a deep pot bunker right in front of the green. The green is large and slopes hard back to front; putting from below the hole is best chance at a make. Be sure to look at #18 green while on #17 tee box to see where the pin location is.
Blue Tee: 400
Green Tee: 333
Hybrid Tee: 400
Red Tee: 333
White Tee: 374

Hole 18
Par 4
Pro’s Tip:
This iconic finishing hole is lined on both sides by tall strong trees and a large fairway bunker on the right side. The hole starts straight but turns slightly left the closer you get to the hole. An ideal tee shot is down the right side of the fairway to have the best angle at the long tricky green. The hole could play about 25 yards different based on pin location. Four bunkers guard short and long of the green. Once on the green, pace is more important than the line itself as a couple putts can be very tough. Make sure to check out the Tiger Woods “Shot in the Dark” plaque down the right side of the fairway.
Blue Tee: 464
Green Tee: 350
Hybrid Tee: 464
Red Tee: 350
White Tee: 435

Hole 2
Par 5
Pro’s Tip:
The only Par 5 on the front nine is all up hill with a well guarded 3-tier-green. Fairway bunkers and tall trees line the sides the length of the fairway. A tee shot in the fairway sets up well for a scoring opportunity. The green itself is not easy. Four deep bunkers guard a severely undulated green with mean run-offs. If you are not careful on the green, you may easily putt it off. This hole is best played as a 3 shot hole.
Blue Tee: 526
Green Tee: 478
Hybrid Tee: 526
Red Tee: 395
White Tee: 478

Hole 3
Par 4
Pro’s Tip:
A short Par 4 well protected by a large pond, deep bunkers and high over hanging trees. A tee shot favoring the right side of the fairway will have the best angle into this green. Any shot outside of the fairway will have a tough time hitting the green in regulation.
Blue Tee: 442
Green Tee: 323
Hybrid Tee: 369
Red Tee: 323
White Tee: 369

Hole 4
Par 4
Pro’s Tip:
Another demanding tee shot is required on the Par 4 fourth hole. An ideal tee shot lands in the right side of the severely sloping fairway and letting the ball roll to the flat area on the left. With trees lining the fairways and a large bunker on the right side, it is important to hit the fairway to try and score. A tricky green with subtle breaks and run-offs require a lot of attention to avoid a three putt.
Blue Tee: 471
Green Tee: 366
Hybrid Tee: 471
Red Tee: 270
White Tee: 366

Hole 5
Par 3
Pro’s Tip:
The first of two Par 3s on the front nine plays around 180 yards from the Member tees. Three tough bunkers protect the front and left side of the green while tall trees guard the right side and long of the green. A narrow but long green slopes hard from right to left. If not careful on the green, a three-putt could be in play.
Blue Tee: 200
Green Tee: 171
Hybrid Tee: 200
Red Tee: 154
White Tee: 182

Hole 6
Par 4
Pro’s Tip:
The number one Handicap hole on the course is the Par 4 6th, slight dogleg sitting at 415 yards from the Members tee. This hole is shaped left to right and requires a tee shot in the fairway to have a good look at the long green. Trees down both sides play a factor for any tee shot that is not in the fairway. Three bunkers guard the left-right sloping green. It is best to leave the approach shot below the hole to have a good chance at the putt.
Blue Tee: 469
Green Tee: 413
Hybrid Tee: 413
Red Tee: 275
White Tee: 413

Hole 7
Par 3
Pro’s Tip:
This Par 3 7th plays shorter from the Member's tee at around 150 yards. The shorter distance does not make the hole any easier as it is guarded by 4 greenside bunkers, one of which runs the whole left side of the green. It is important to hit the large green to avoid a tough up and down for par. The massive green provides many tough hole locations; all of which will serve you better playing from below the hole.
Blue Tee: 219
Green Tee: 147
Hybrid Tee: 219
Red Tee: 138
White Tee: 147

Hole 8
Par 4
Pro’s Tip:
The Par 4 8th is another slight left-right dogleg with a left-right sloping fairway. In order to keep it in the short grass, a tee shot on the left side of the fairway is ideal. With tall and thick trees down the right side, the best miss is to the left in order to have a look at the green. The green is guarded by five deep bunkers and a severe run off over the back of the green. The green runs hard front-back. Shots that land short of the green, tend to roll on and trickle towards the pin.
Blue Tee: 482
Green Tee: 420
HybridTee: 420
Red Tee: 296
White Tee: 420

Hole 9
Par 4
Pro’s Tip:
This straight but long Par 4th closes out the front nine at the base of the clubhouse. A tee shot in the fairway is the best chance to attack this tricky protected green. Three deep bunkers surround the green. The green itself has a severe false front as well as a couple of collection areas that will test your putting skills.
Blue Tee: 494
Green Tee: 330
Hybrid Tee: 442
Red Tee: 330
White Tee: 442

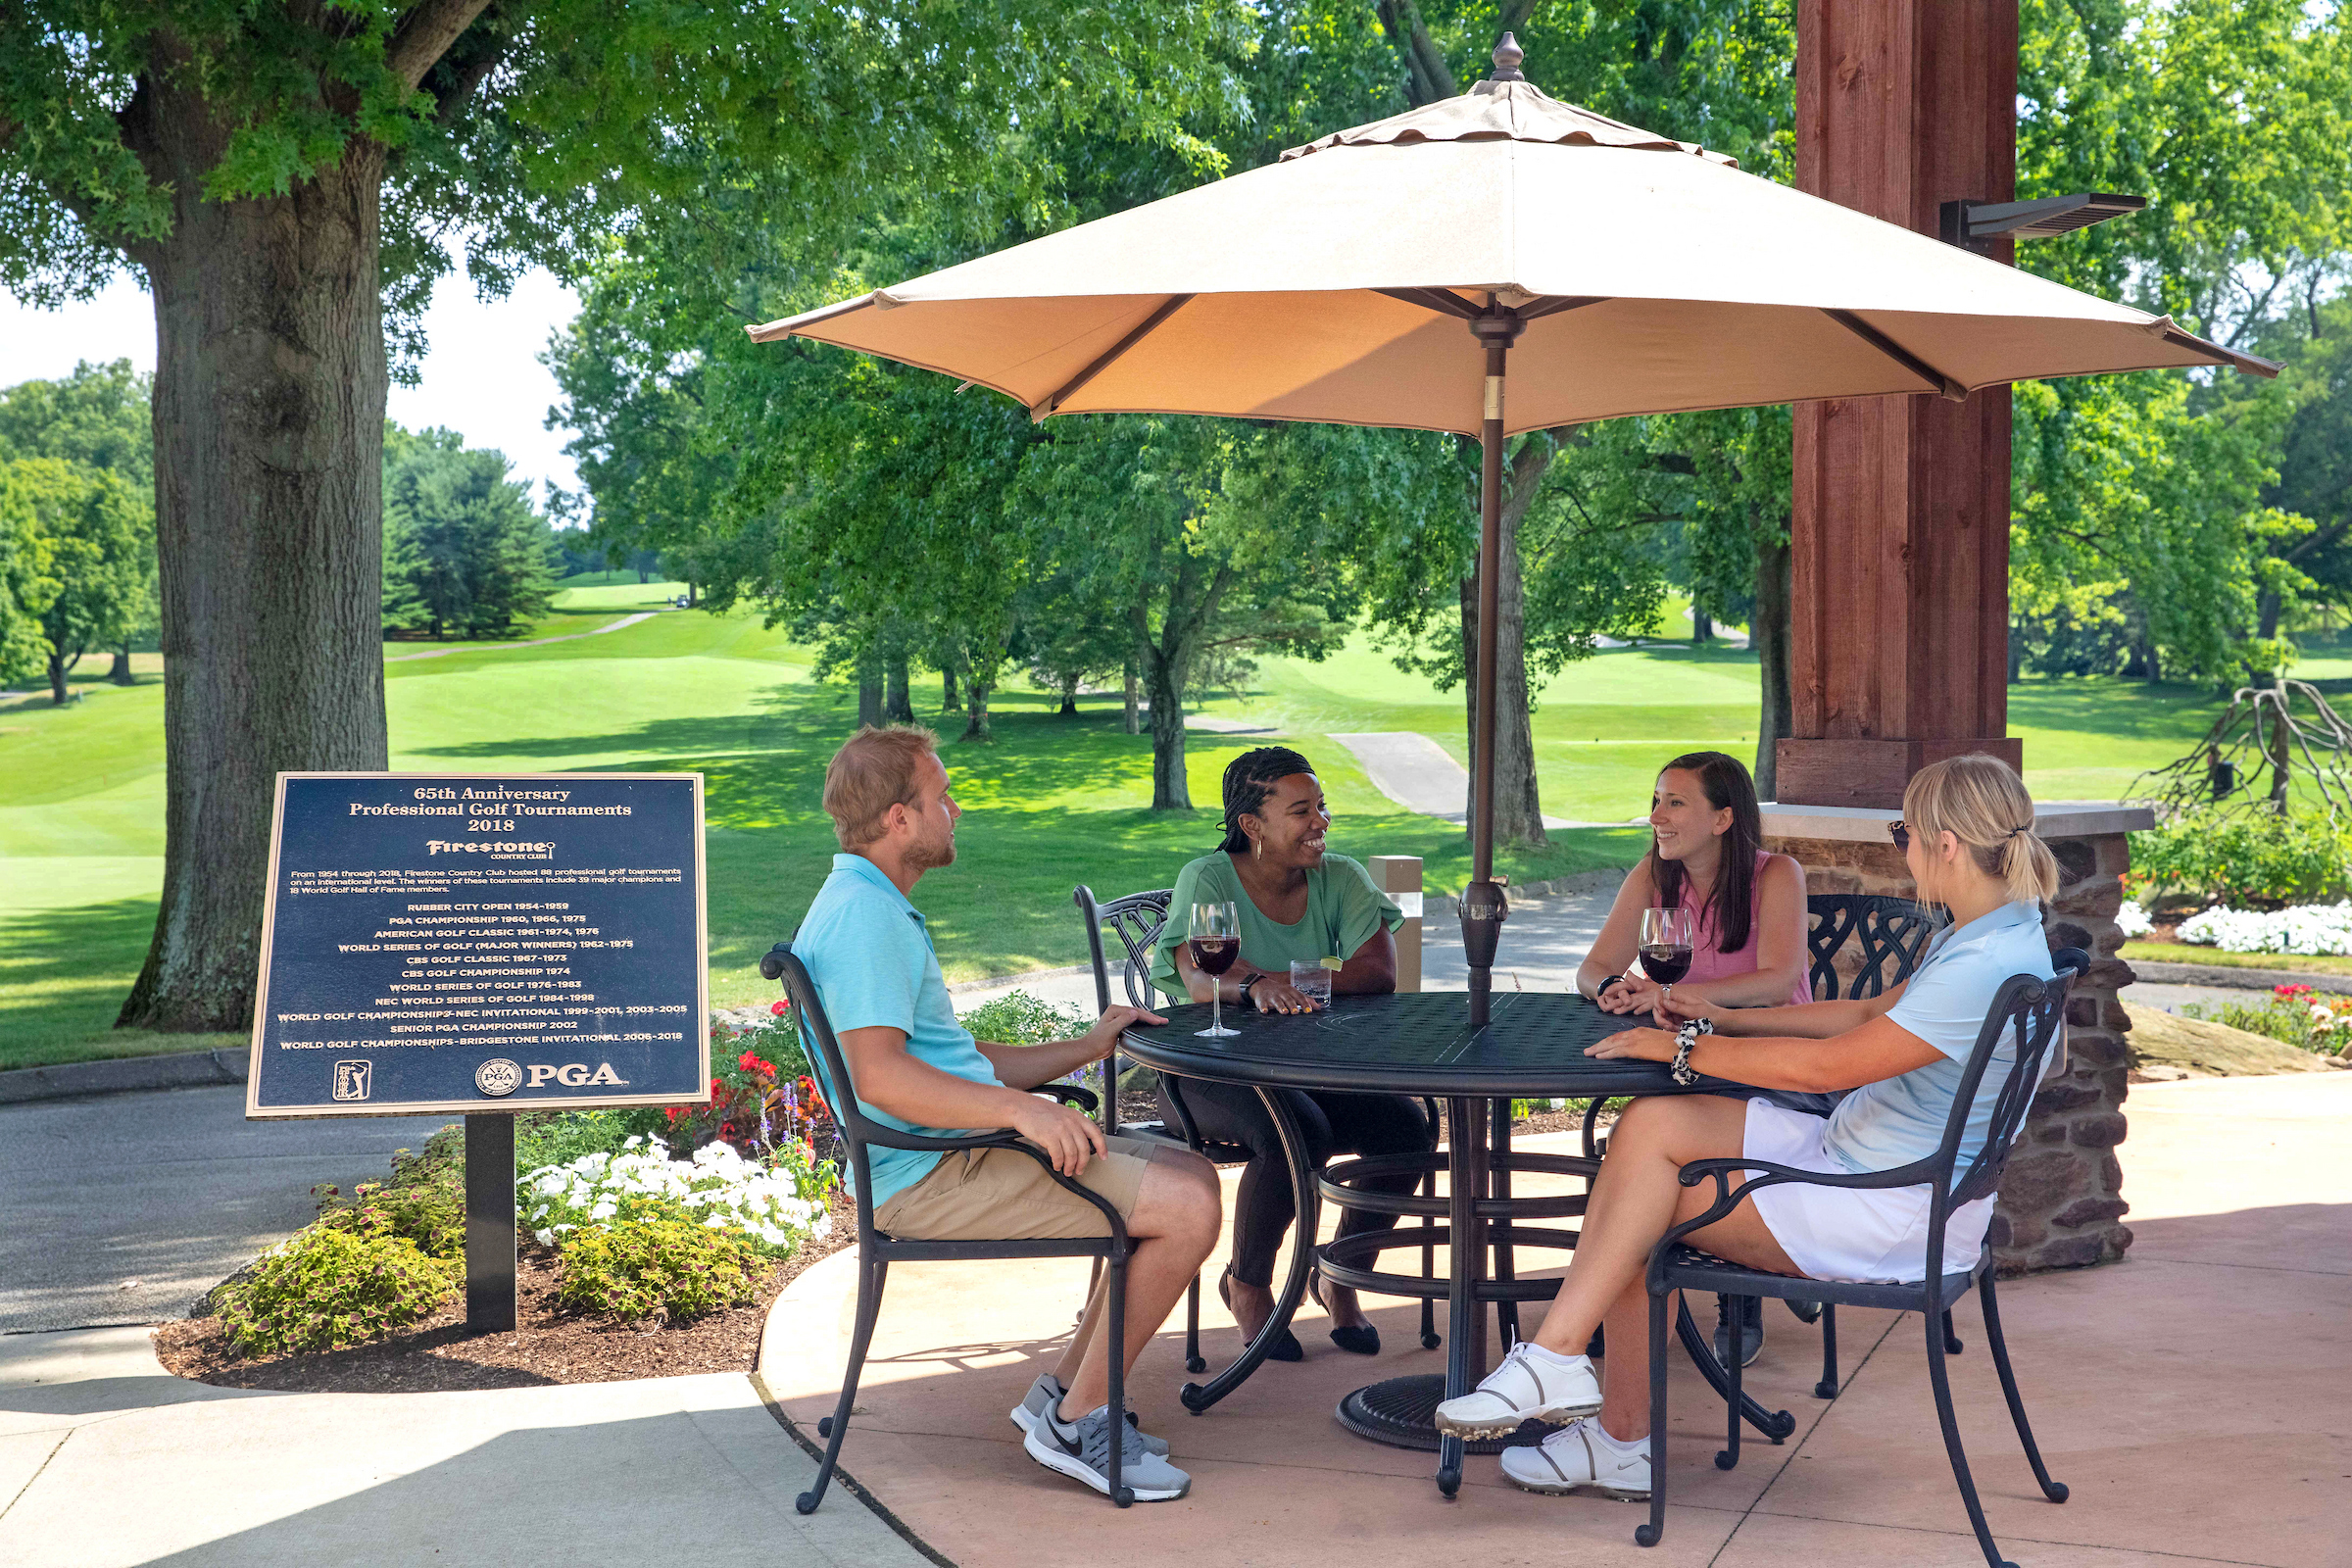
Host a Golf Event
With three world-renowned courses, Firestone Country Club sets the stage for unforgettable tournaments and outings, from elite corporate and charity events to friendly member competitions.
Accommodates groups of every size across the South, North, and Fazio Courses
Corporate, charity, and member tournaments welcome
Professional event team managing registration, scoring, and full-service logistics
Custom formats, pairings, and on-course contests tailored to your group.